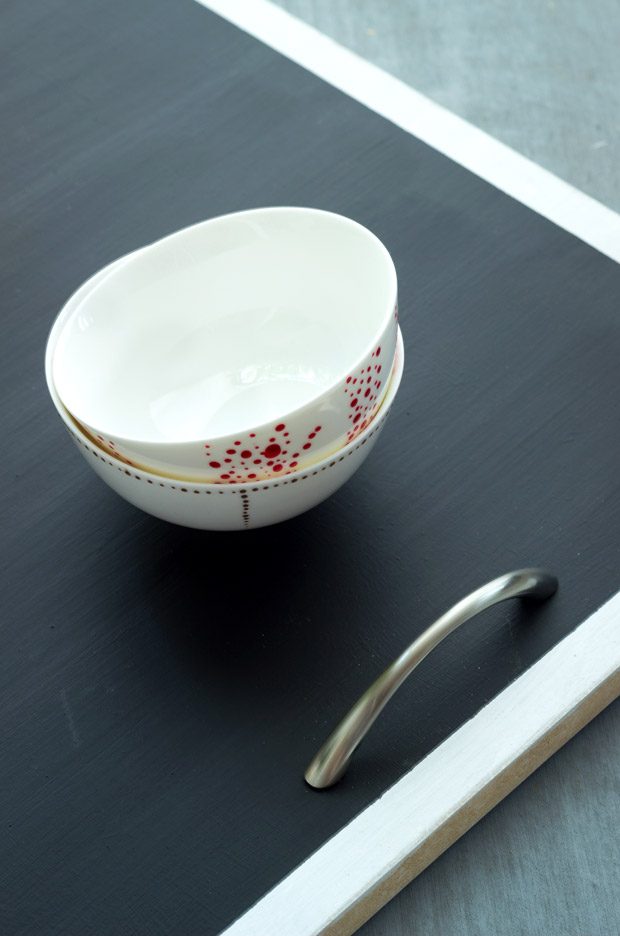
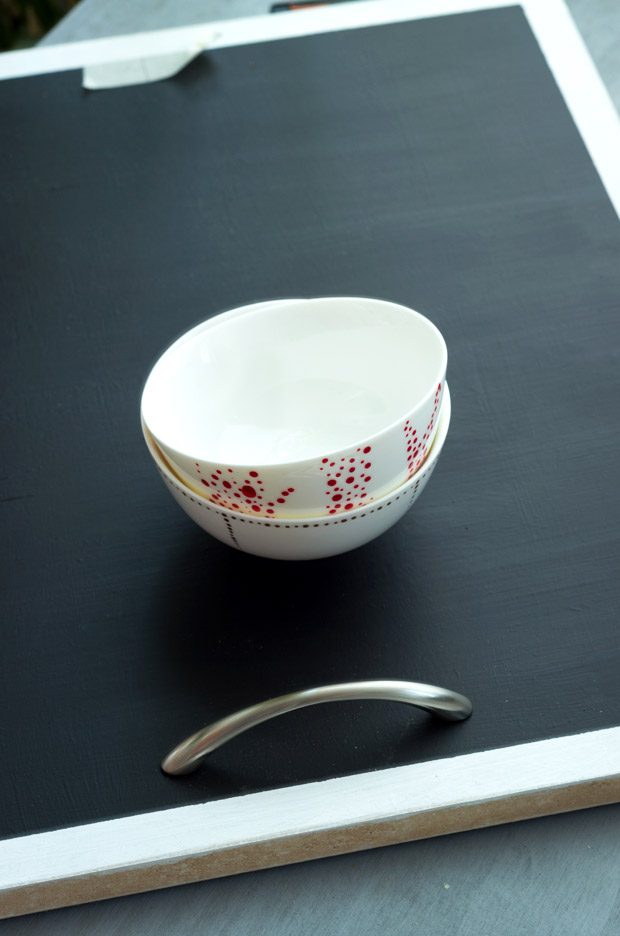
 Chalkboard painted serving tray! Great for your dinners and get-together, this DIY tray is perfect for serving cheese, cookies, or any other goodies you might need to label. It’s easy and fun to make, here’s how you can make your own!
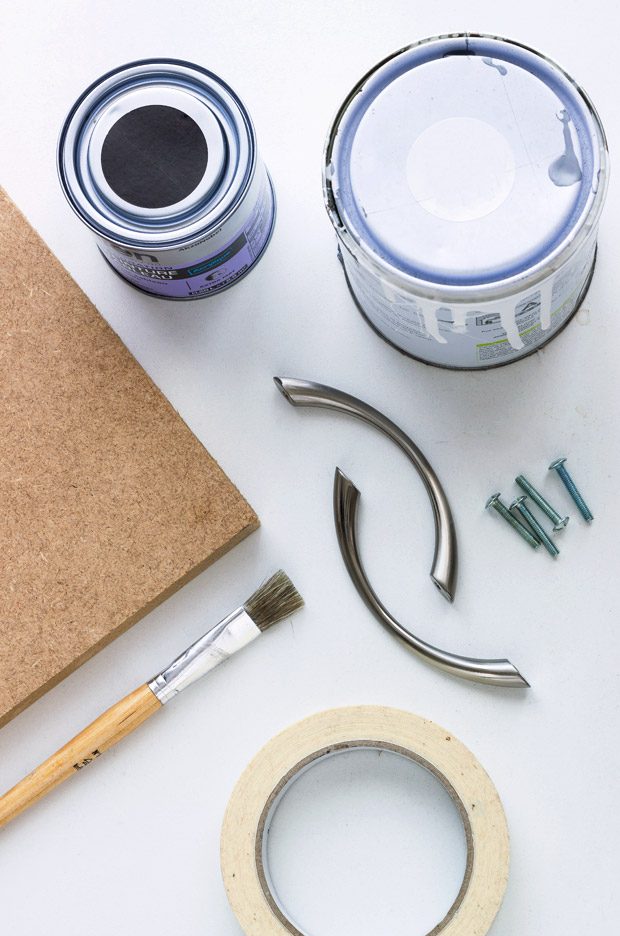
Supplies you’ll need
- A 24×19-inches (60x50cm) wood board, 1-inch thick
- White acrylic paint
- Black chalkboard paint
- A pair of stainless steel pull handles with their screws (approx. $10 or $15, depending on quality and design)
- Masking tape
Tools:
- Paint brush
- Sand paper
- A drill and a screwdriver
Coat the board with one layer of white paint. Allow to dry for 30 minutes to 1 hour, then sand quickly. Next, tape off the edges with masking tape and paint the entire surface with chalkboard paint. We made two coats, sanding quickly between each steps of the process.

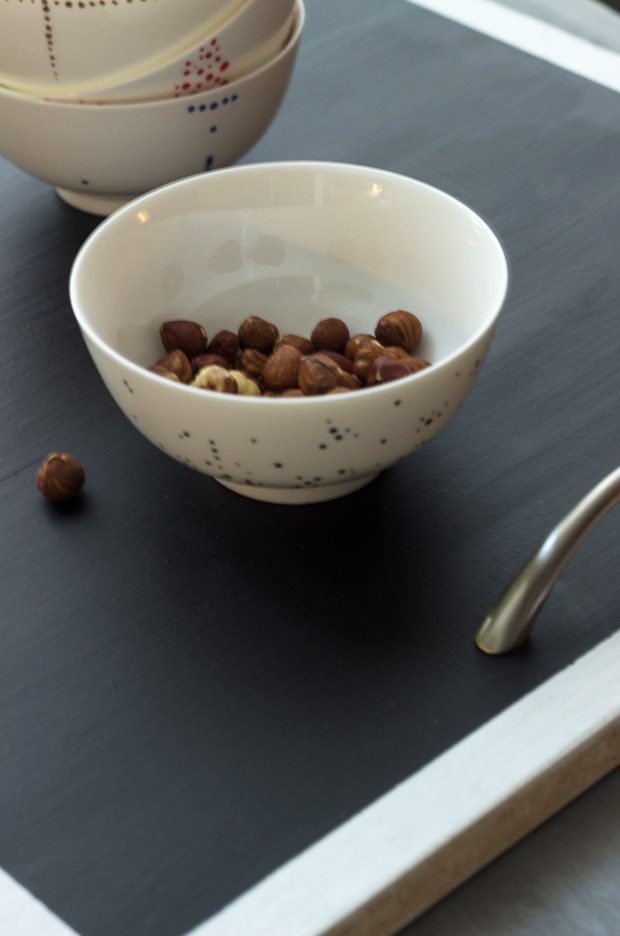
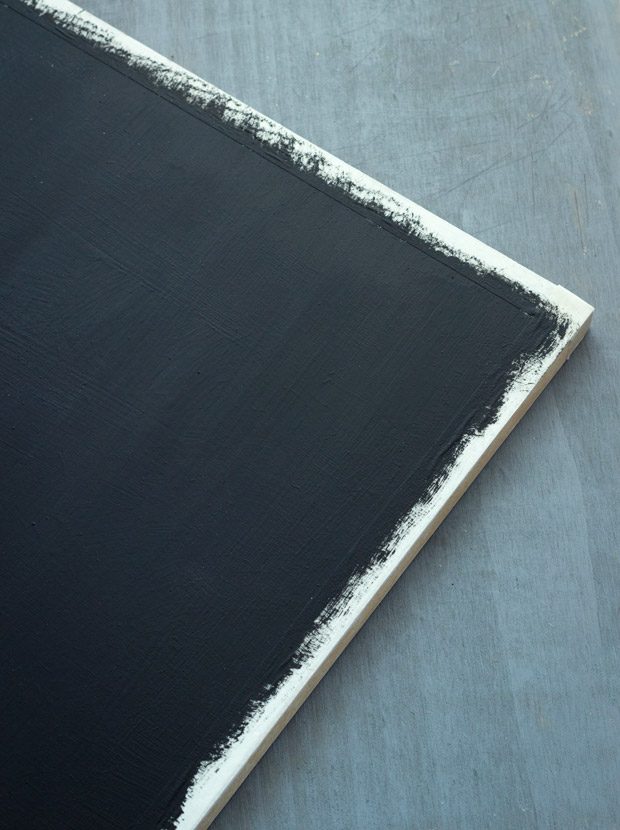
Once the paint is dry, carefully remove masking tape, pulling perpendicularly from the edge. You should get a nice, clean border like the photo above.
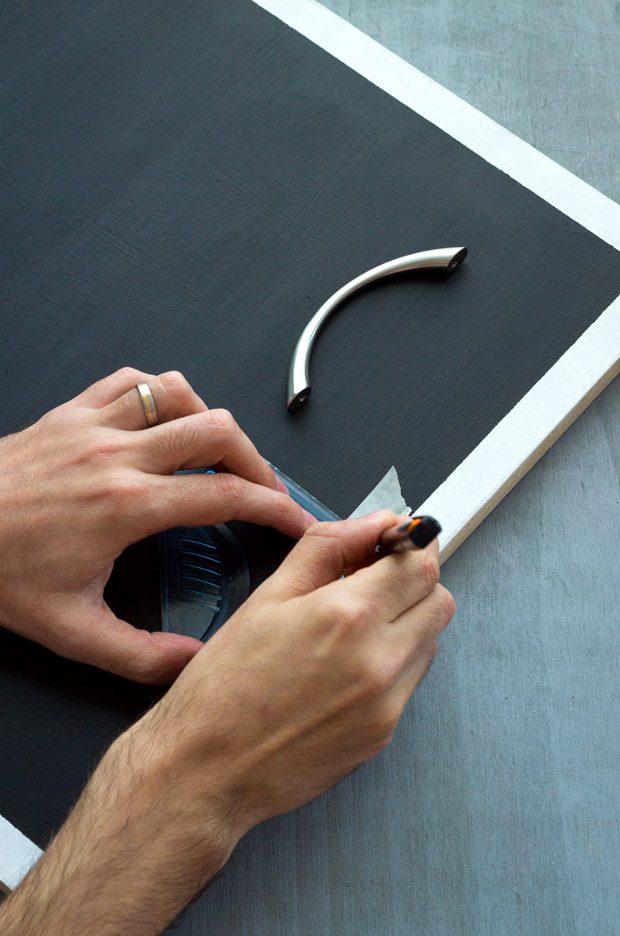
Pick up the middle of the smaller edge of the board. Trace little crosses that match your pull handles, about 1-inch from the white border. Repeat the process on the other side.
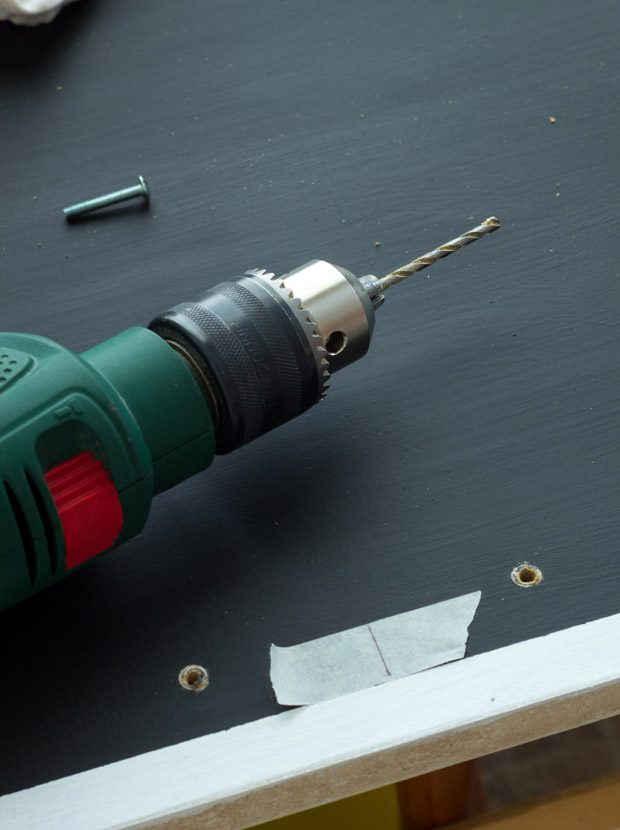
Drill small holes the diameter of the screws and clean from wood dust on both sides.
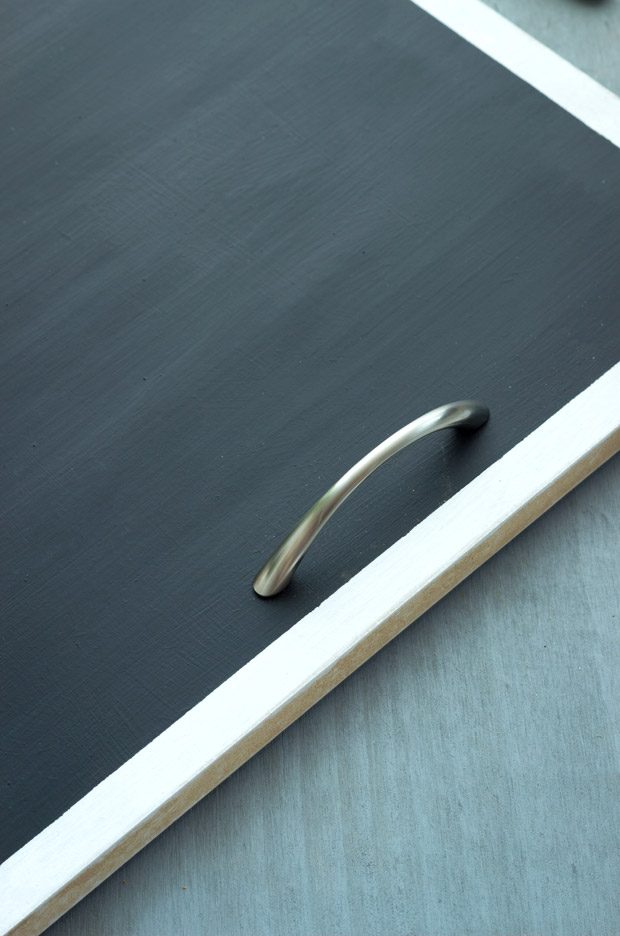
Screw the handles tightly on the board, making sure they are well secured.
Directions:
1. Coat the board with one layer of white paint. Allow to dry for 30 minutes to 1 hour, then sand quickly. Next, tape off the edges with masking tape and paint the entire surface with chalkboard paint.
2. Once the paint is dry (about 30 minutes to 1 hour), carefully remove masking tape, pulling perpendicularly from the edge.
3. Drill small holes the diameter of the screws and clean from wood dust on both sides.
4. Screw the handles tightly on the board, making sure they are well secured. Voila!